🎉 Congratulations on your new POS hardware! The Oliver Elite is our flagship Android desktop point-of-sale device, so you're in good hands.
Once you have your Elite out of the box and plugged in, locate the power supply and connect the unit to power, then press the round button on the side of the device to turn it on.
The first step is to get through the initial configuration sequence. Here's where you will set the date and time, and connect to your WiFi network.
When the Elite is fully booted up and connected to the internet, the next step is to install the latest Oliver POS 3.0 app.
Open APP STORE and install the Oliver app with this logo:

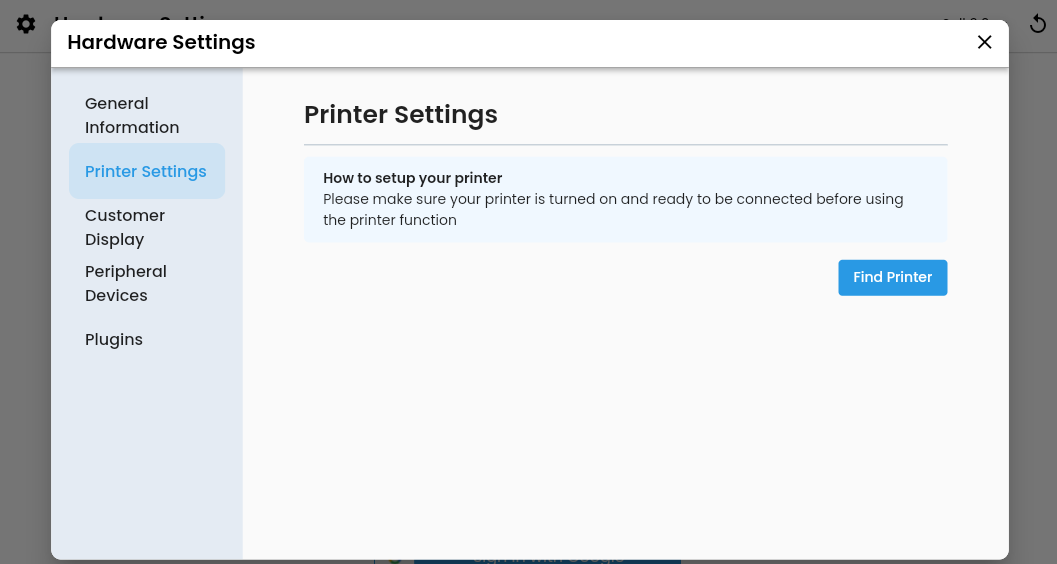
Before logging in and starting selling, the printer needs to be initialized in the app settings so that you can print receipts via the built-in 80mm printer.
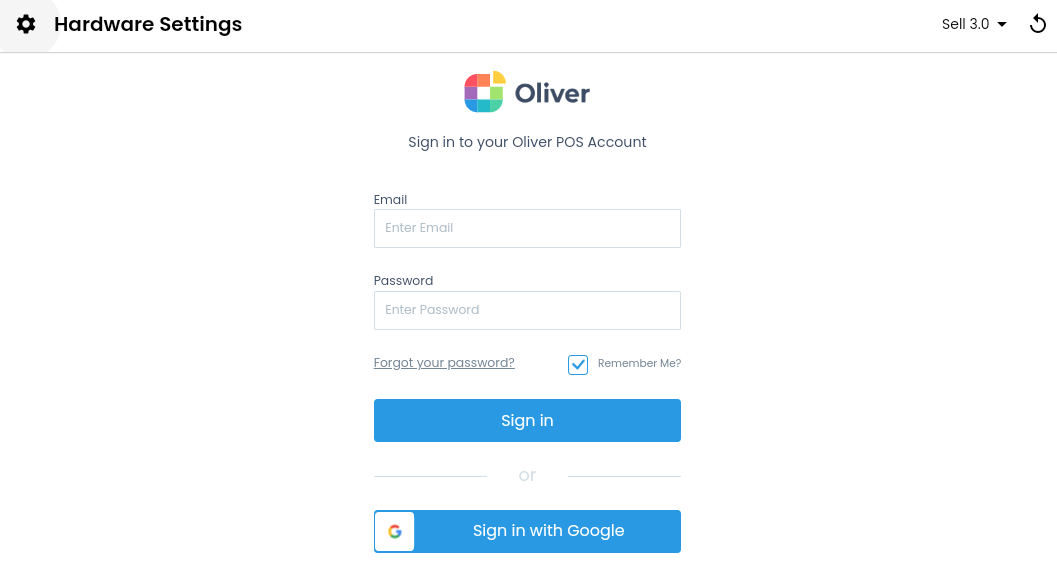
Once Oliver POS 3.0 is installed, click the "P" icon to launch the app. The app settings can be found via the gear icon ⚙ in the top-left corner:
Select Printer Settings --> Find Printer:
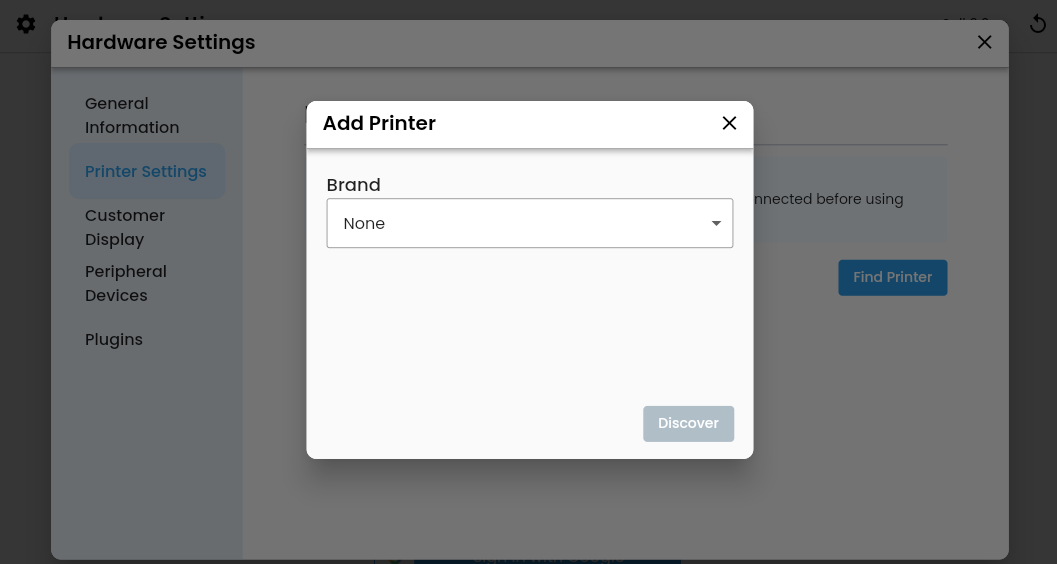
When the Add Printer window appears, select Sunmi from the Brand dropdown and select Built-in as the type:
Lastly, select Test Printer to make sure the connection has been made! Now you're ready to log in and get selling on the Oliver Elite.