First, log into the Oliver Hub to upload the images you want to use for the customer facing display. Note that your CFD images are set per Location, and will apply to any Registers that exist under that Location.
💡 TIP: We recommend accessing the Oliver HUB from the browser on a laptop or desktop computer, as certain settings are not available when accessed via web browser on the Oliver Elite.
To upload your assets, navigate to Settings --> Locations --> [click on Location name] --> Customer Facing Display.
Here's a quick reference of which images will be shown at each stage of checkout:
Main Display View
Customer Display Image
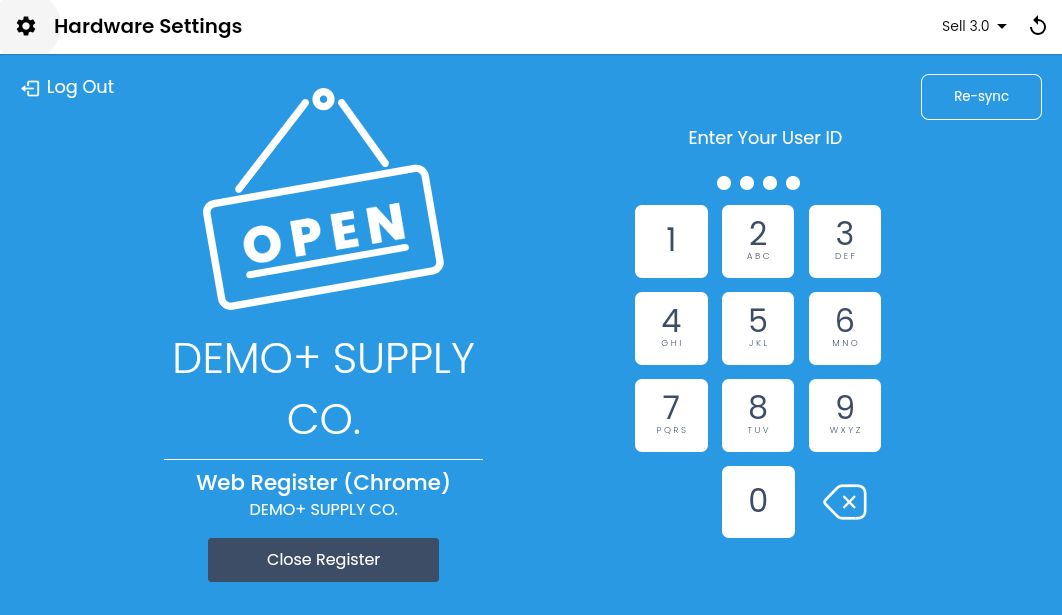
PIN screen
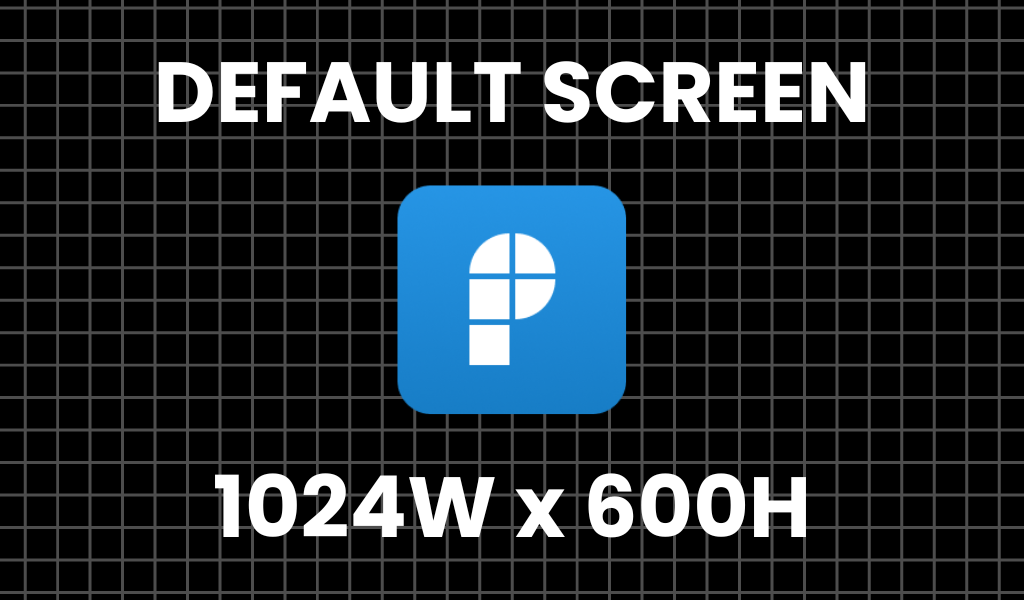
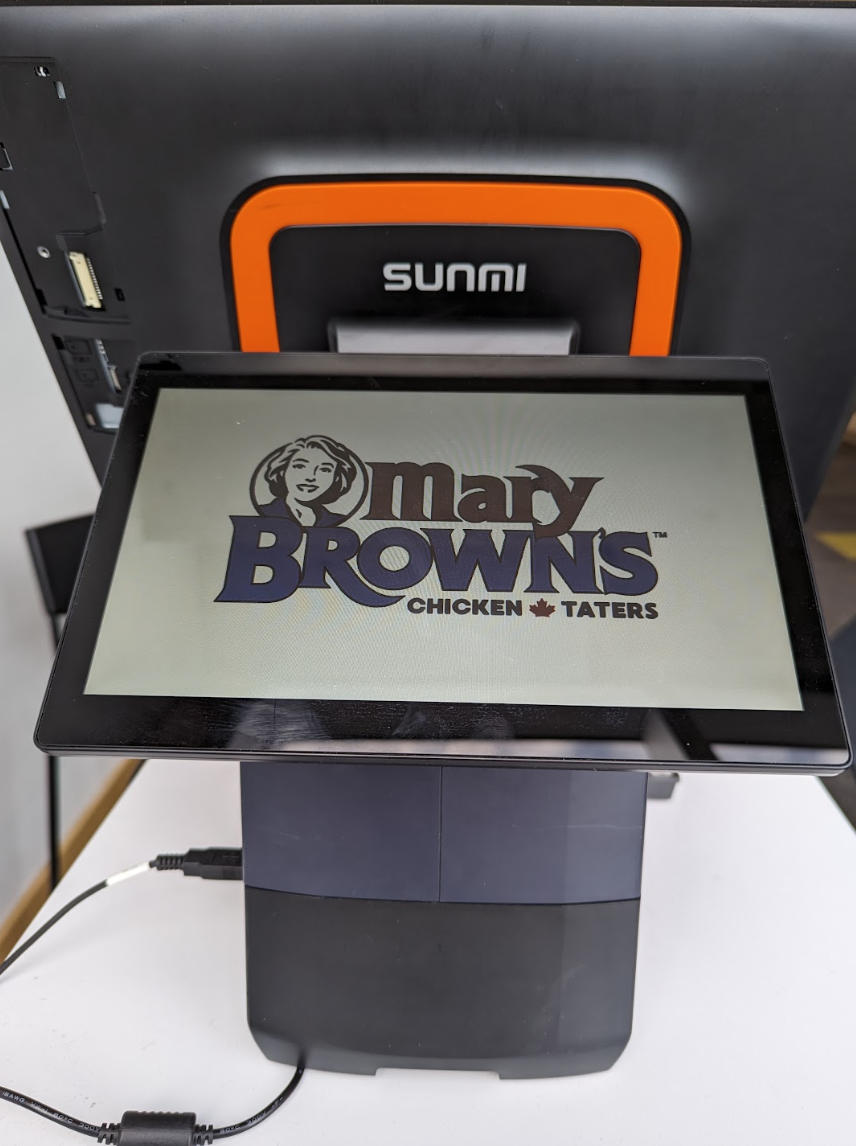
Default image (1024 x 600)
Home
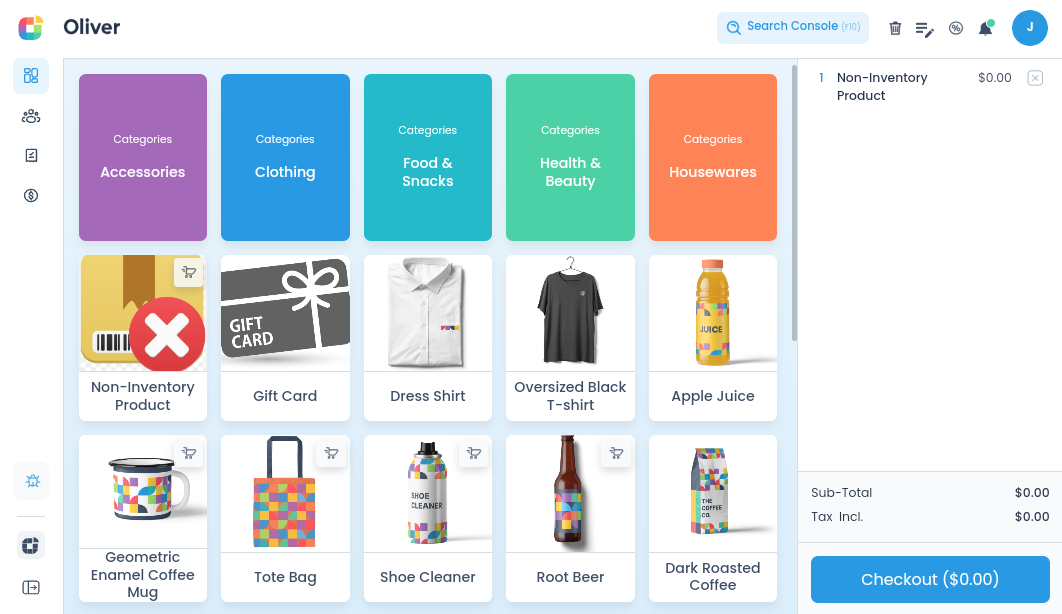
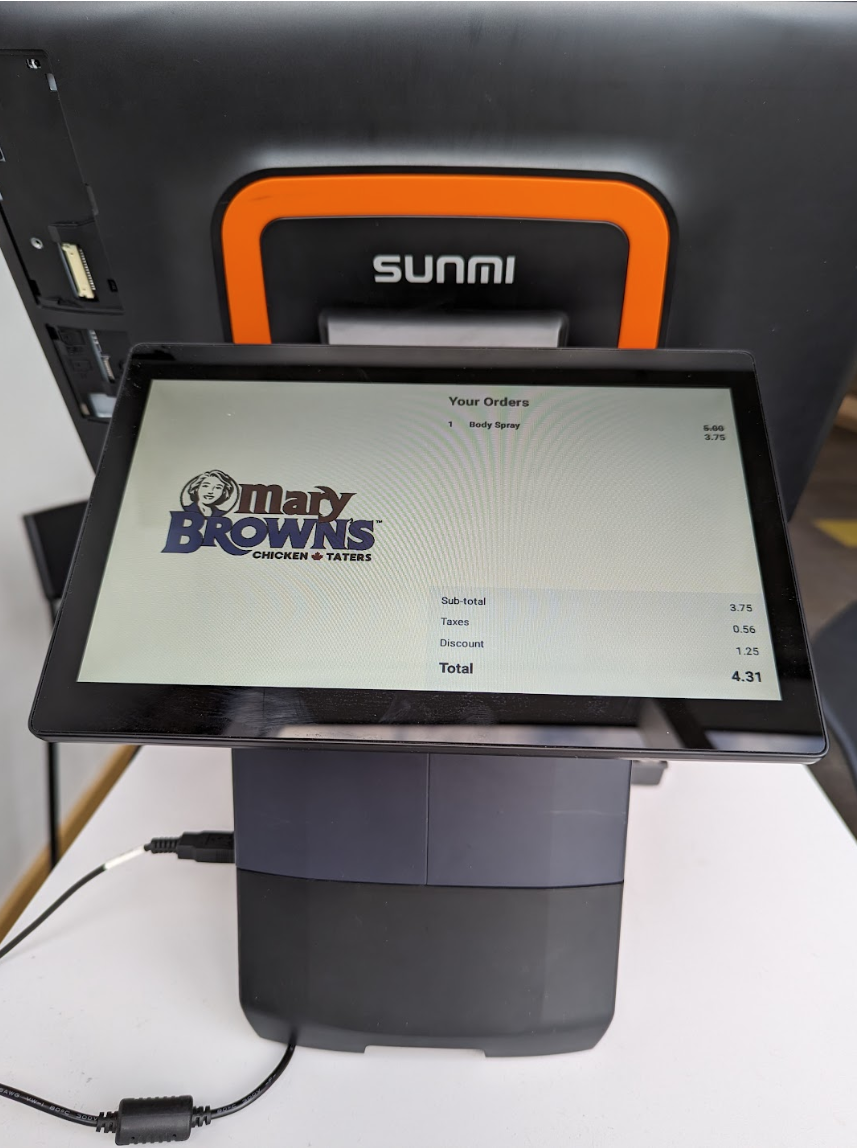
Cart image (512 x 600)
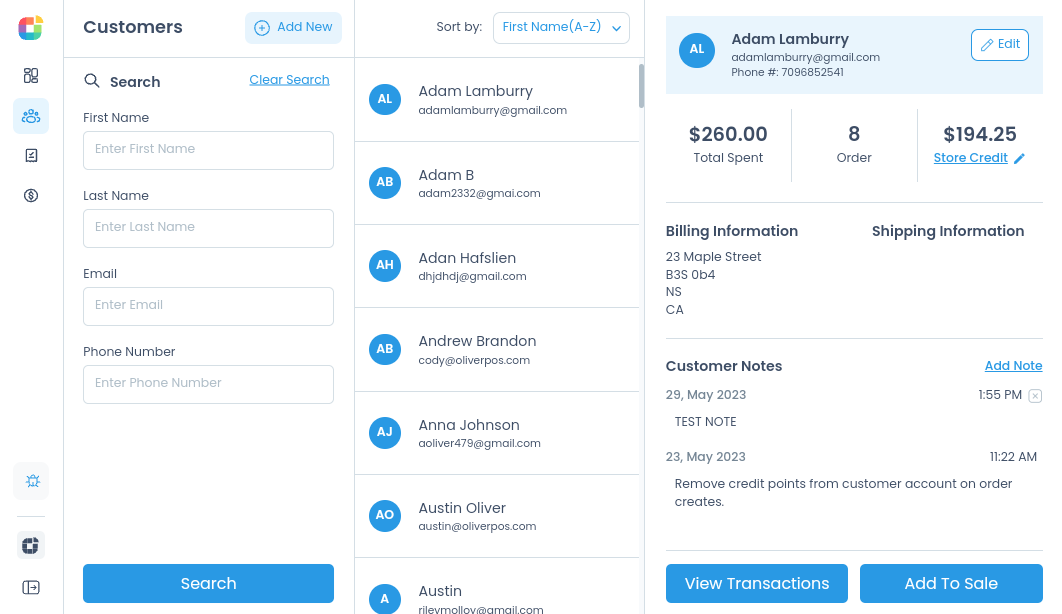
Customers
Cart image (512 x 600)
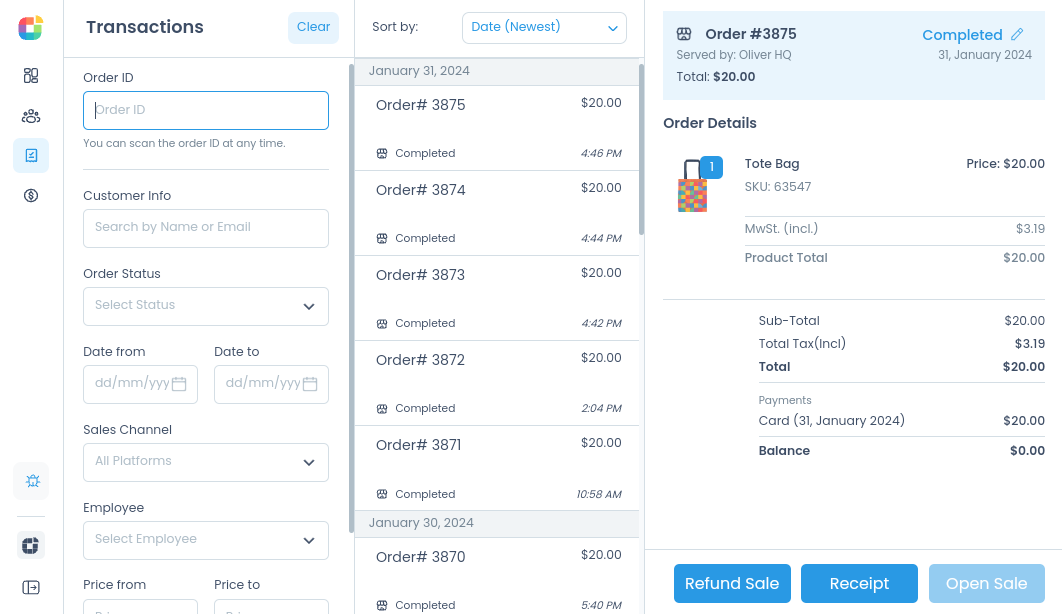
Transactions
Cart image (512 x 600)
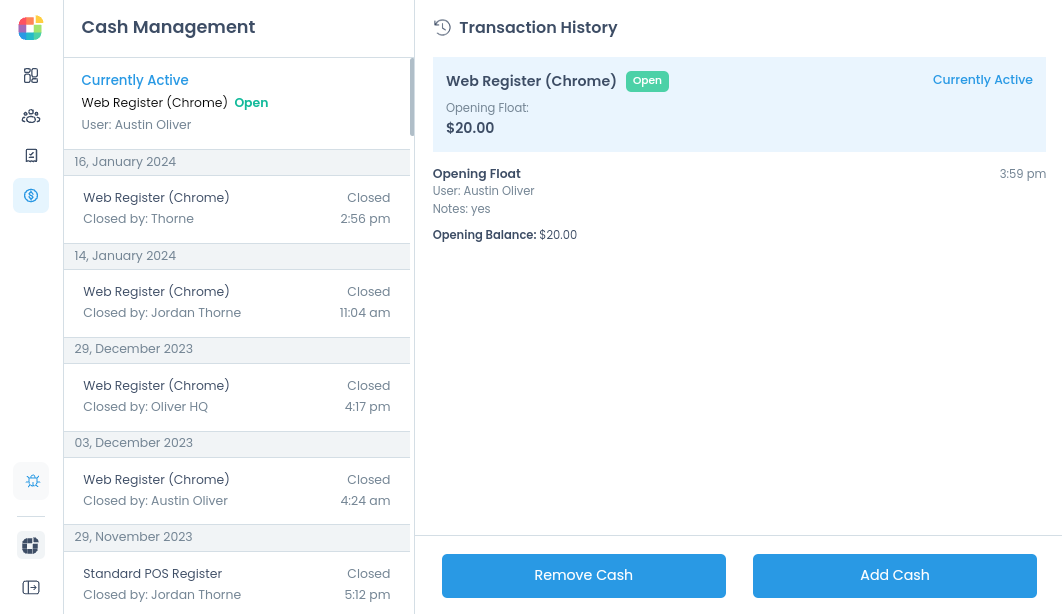
Cash Management
Cart image (512 x 600)
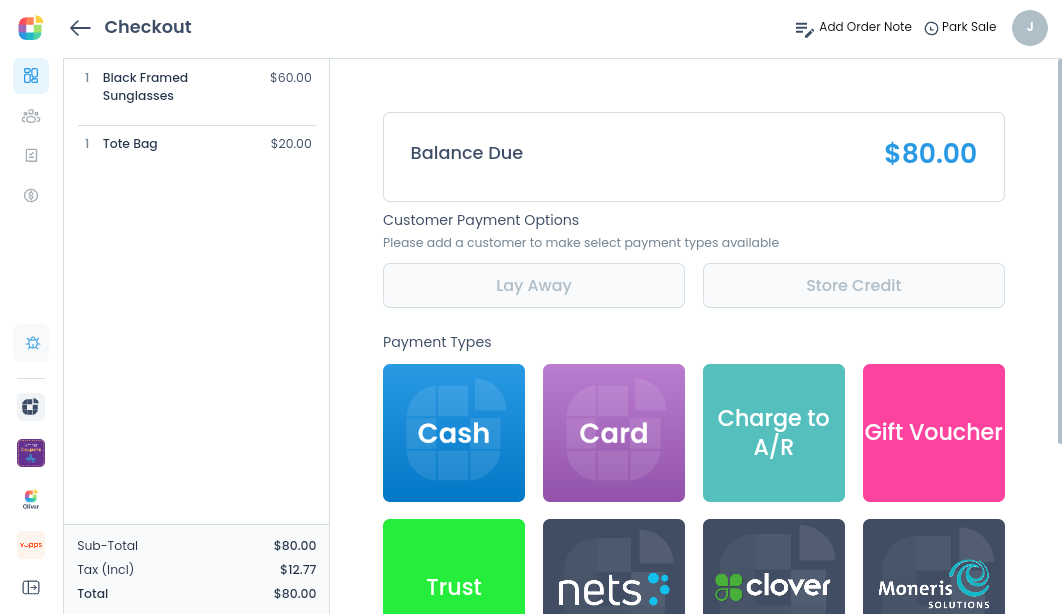
Checkout
Cart image (512 x 600)
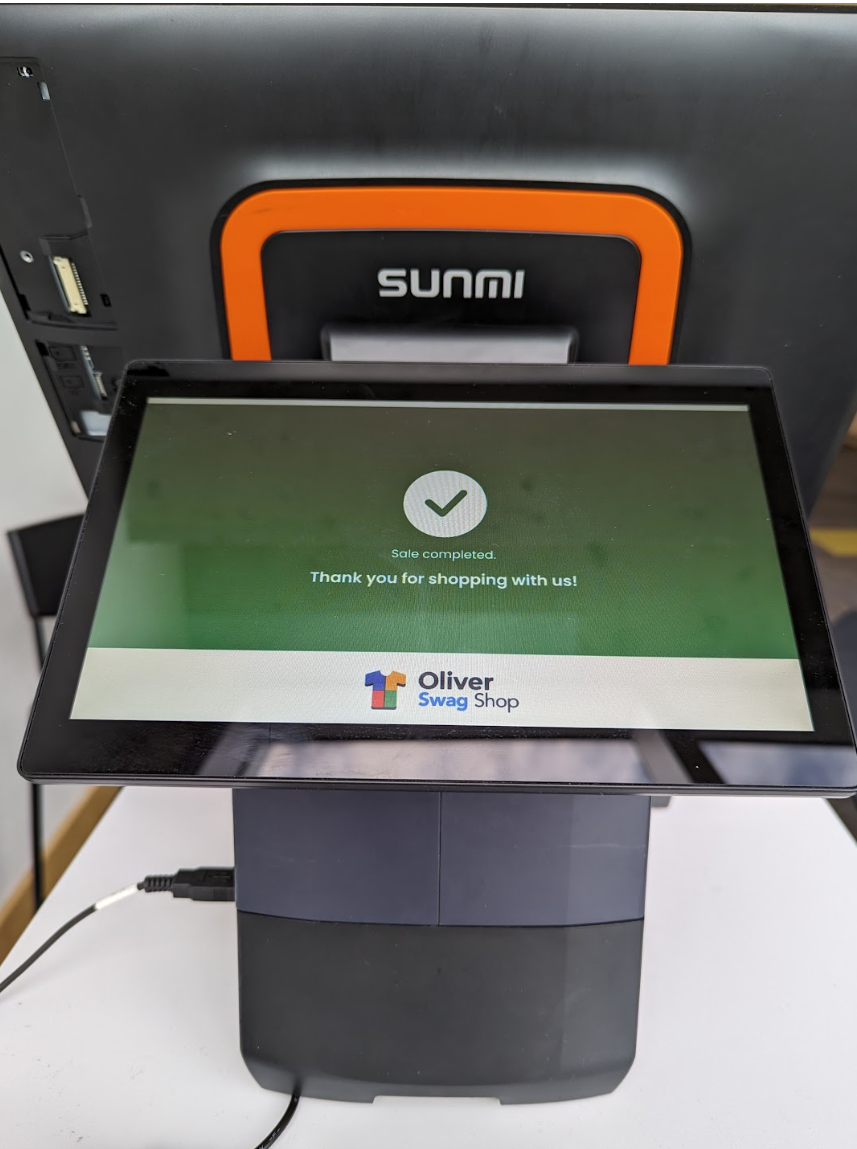
Sale Complete
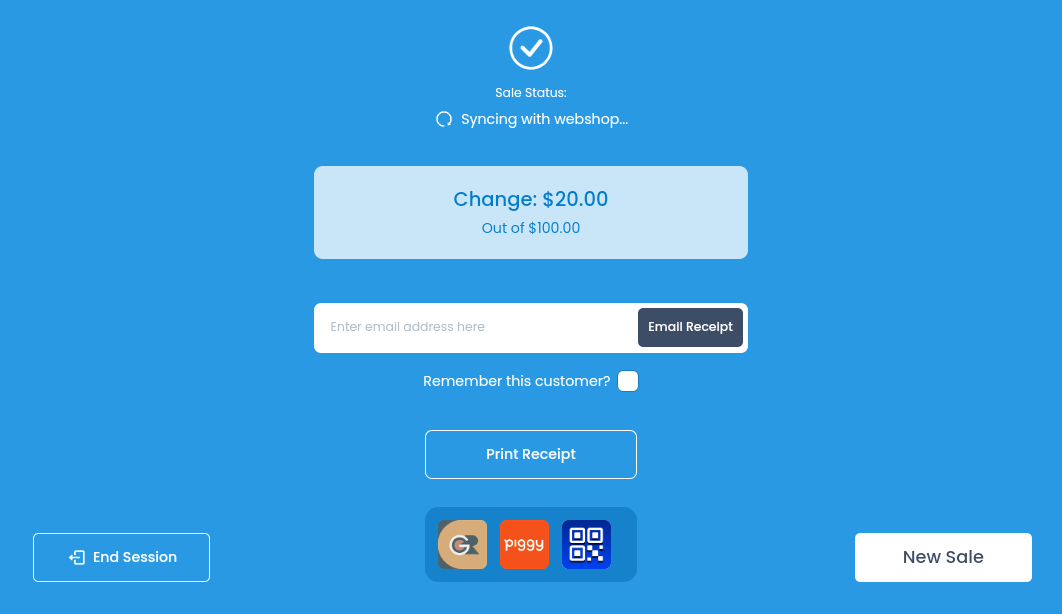
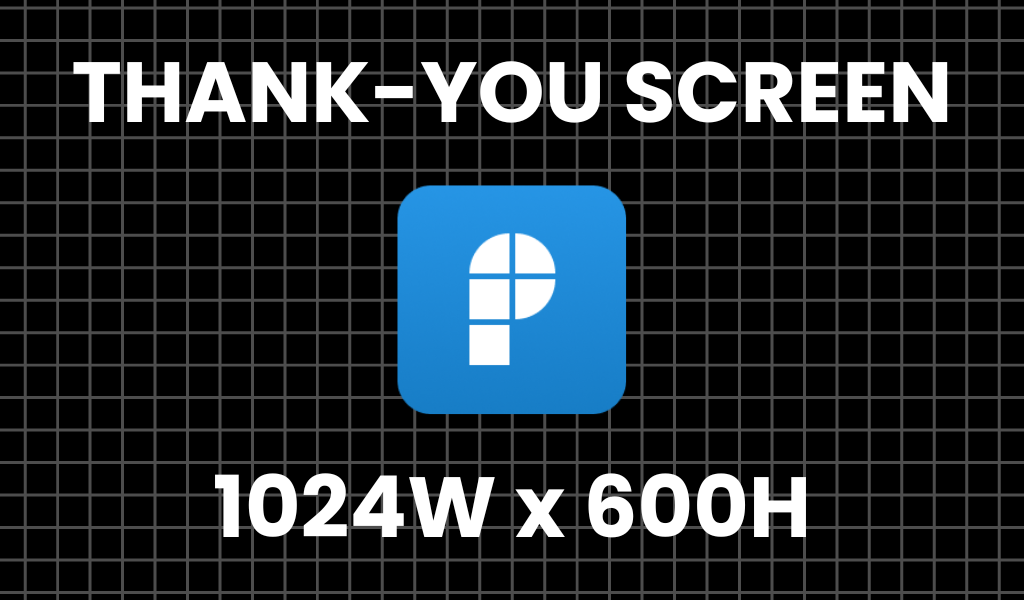
Thank You image (1024 x 600)
Once you have your three assets uploaded, don't forget to click Submit!
By default, the customer display is off. You can turn it on in the Hardware Settings after launching the Oliver POS app by selecting the gear icon (⚙) in the top left corner.
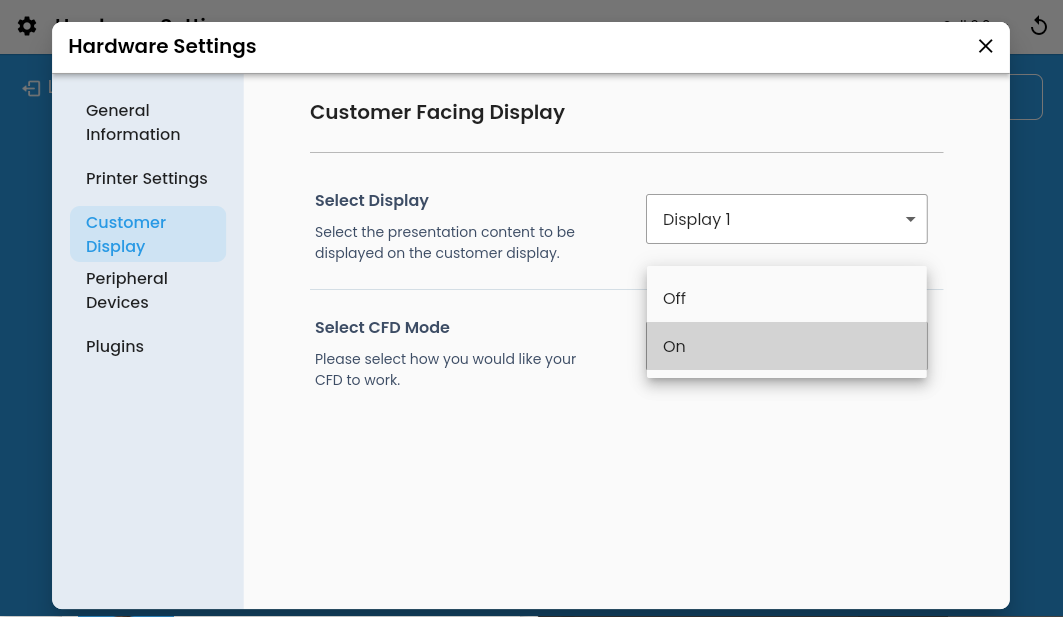
After turning Select CFD Mode to ON, your secondary display may appear blank. That just means your images haven't been pulled in from the Hub yet!
Select (X) to exit Hardware Settings, and enter your PIN. Your CFD images should be loaded upon syncing your shop!
Default image:
Cart image:
Thank You Image: