To configure your Oliver POS receipt, head to the Oliver Hub and navigate to Settings --> General Settings --> Print Settings.
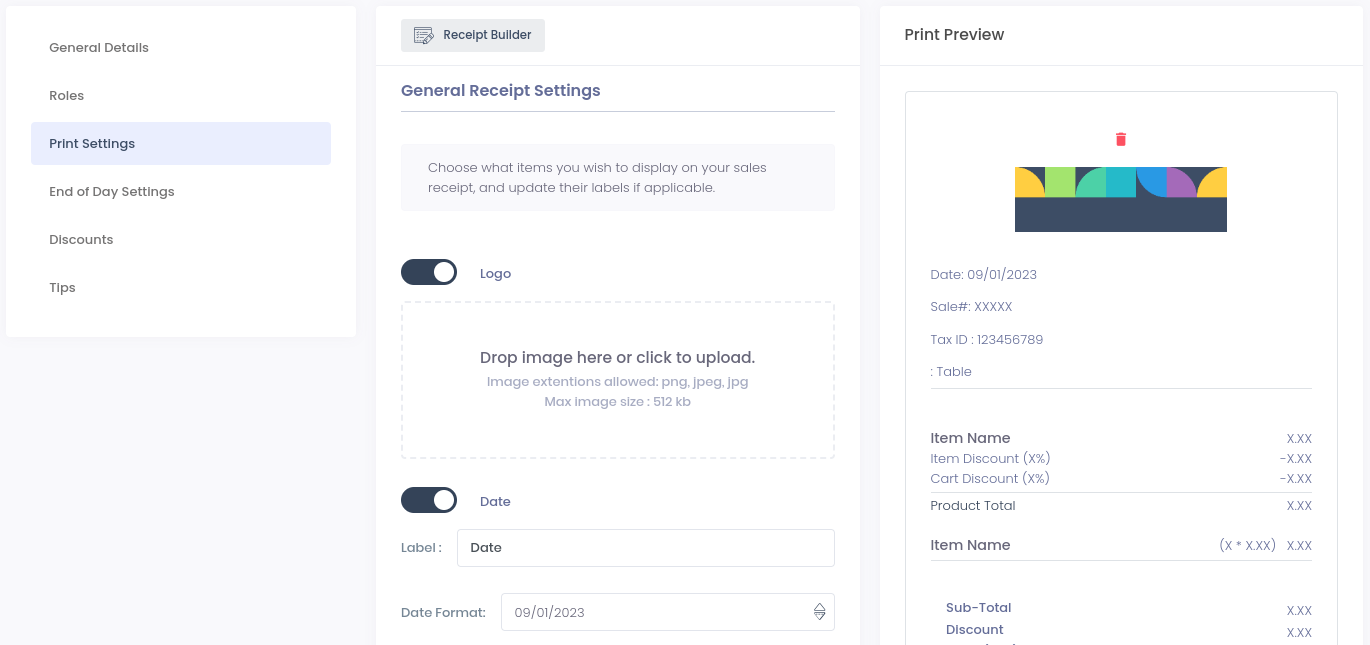
General Receipt Settings
All Oliver POS plans include access to the following receipt settings, which can be configured to meet your business requirements:
Receipt Field Name
Available Settings
Logo
- Show/Hide
- Logo image upload
Date
- Show/Hide
- Label
- Date Format
Time
- Show/Hide
- Label
- Time Format
Sale#
- Show/Hide
- Label
Customer Name
- Show/Hide
- Label
Tax ID
- Show/Hide
- Label
- Tax ID input (for receipt only)
Customer Address
- Show/Hide
- Label
Table Number
- Show/Hide
- Label
Paid With
- Label
Group Sales
- Label
Subtotal
- Label
Total Discounts
- Label
- Show Tax
Tips
- Show/Hide
- Label
Order Total
- Label
Return Policy Title
- Show/Hide
- Return Policy text field (multi-line)
Allow Plugins to add to your receipt
- Show/Hide
- Receipt Plugin select
If you require other receipt fields not listed in the table above, check out this article to learn about our Advanced Receipt Builder!